dev_tool_tutorials
Tutorials on common developer tools for computer science students.
Project maintained by jeremyglebe Hosted on GitHub Pages — Theme by mattgraham
Visual Studio Code: Multiple File Compilation
Problem
Unlike some IDE softwares (remember, vscode is not a full ide) Visual Studio Code doesn’t have any extremely clear methods to compile multiple files without the user doing so manually. We can address this issue in a few different ways which will be detailed below.
Requirements
The following is assumed about your environment:
- You are using Visual Studio Code
- You have the Code Runner extension for vscode installed
- only needed for one of the methods below
- You have G++ installed and in your PATH
If any of the above assumptions are not true of your environment and you are on Windows, follow this tutorial.
3 Methods of Multiple File Compilation
Use the integrated terminal
By far the most direct method of compiling and running code: use the command
line. You can open a terminal within VSCode by pressing CTRL+`. Once you
have your terminal open, we can use commands to compile your files and run
the program.
- If your files are not in the root of the folder you have open, then you need to use the command below to navigate to the folder your files are in.
cd ./path/to/my/folder- ex) You’ve opened a folder called
projects/and want to compile code inprojects/assignment1/- command:
cd ./assignment1
- command:
- Inside the folder, we are going to run a command to compile all
.cppfiles. .h files will be added with#include""in the code itself, so we don’t have to worry about those.- command:
g++ *.cpp -o prog1.exe - Let’s break down what each part of this command does
g++we are running the compiler with this command, pretty basic*.cpphere is where you usually put a file name, but in this case we want to compile all files ending in.cpp. We can do this by using*, which basically translates to “anything”. So “anything” followed by.cpptranslates to all files that end with.cpp.-o prog1.exethe-oflag just tells g++ that I’m about to give it the name of my program’s executable. On Windows we usually make the extension.exebut you can make it whatever you want. You can also name it whatever you want, it doesn’t have to beprog1. This is the file you will run your program with.
- command:
- Now, if we compiled successfully, we will use a command to actually run the code
- If you have compilation errors, make sure your code is correct! No syntax errors!
- If you are using the default Windows command line in VSCode (this is what VSCode will use by default as well), run the program by typing in its name without the extension like so:
prog1
- If you are using a Bash terminal or something like it, you may need to enter the following instead
./prog1.exe
That’s it! You should have the output of your program in your terminal. Now you just have several thousand bugs and a few hundred debugging statements to get through and you’re done.
Code Runner’s Executor Map
This method is simple. When you run something using Code Runner, you’ll notice that is shows a command being executed in your output. That’s because code runner is really just automatically executing some commands for you. We can configure what command it uses in something called the executor map. Don’t worry, you don’t have to know command line for this one, just use the command I’ve provided.
- Open your project’s folder in Visual Studio Code
- Click
filein the top left - Select
preferences, thensettingsin the drop down menu- This should open a new tab within vscode
- In the search bar, type
executor map- You should see
Code-runner: Executor Map. Set the executor of each language.
- You should see
- Right below it, click
Edit in settings.json - Add the following after any existing settings, and make sure to include a comma
-
  "code-runner.executorMap": {
      "cpp": "cd $dir && g++ *.cpp -o $fileNameWithoutExt && $dir$fileNameWithoutExt"
  }
-
- If there is already a line containing
code-runner.executorMap, or if it autocompletes a bunch of lines all at once, its okay! Just find the line that sayscppand change it to the command written above.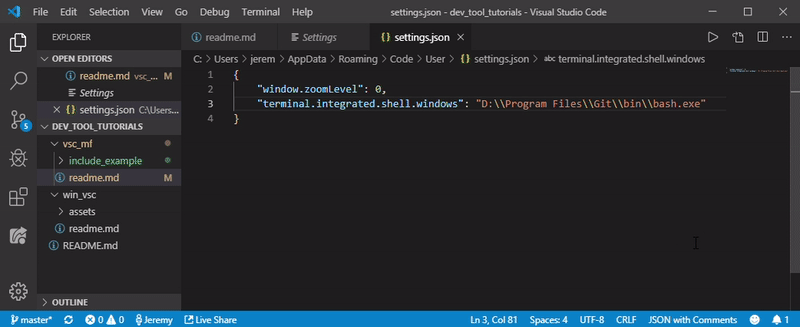
Preprocessor Directive: ‘include’
With some careful placement of #include preprocessor directives, we can make
sure to include and compile all our files just by compiling our main .cpp
file. For classes, your .h file will need to include the .cpp
implementation file. Now when you include the .h you get the .cpp as well.
Your .h file will also need to include #pragma once so it isn’t included
multiple times. If I have a class called A divided into definition file A.h
and A.cpp, with my program’s main functionality being found in main.cpp,
I would need each file to look something like this:
- main.cpp
-
  #include"A.h"
  //...
  int main(){
      //...
  }
  //...
-
- A.h
-
#pragma once //... class A { //... }; //... #include"A.cpp" - Note that the
#includeis at the bottom of the file in this case. That is because the implementation (inside the.cpp) must come after the prototype (which is what we were defining above that in the.hfile)
-
- A.cpp
-
  #include"A.h"
  //...
-
- You can see an example of how this works in the folder labeled
include_example/